Cold snap, rising bills and wilting salads share a culprit you rarely notice behind the door: a tired rubber seal.
As temperatures dip and kitchens work harder to store late‑autumn shops, a quiet energy drain creeps in. A worn fridge gasket lets cold escape, forces the motor to slog and nudges food towards the bin. That little strip can decide whether your groceries last the week or fade by Wednesday.
Why this tiny strip costs you pounds
Early warning signs you can spot
A failing seal rarely tears outright. It telegraphs trouble in small ways you feel every day. Expect beading condensation on the rim, a door that needs a shove or pops back open, and a compressor that hums longer than usual. Watch for “sticky” patches on the gasket or hard, flattened corners. Check for musty odours around the door, which hint at trapped moisture and mould.
Left alone, a bad seal can add 50–200 kWh to yearly use and spoil £40–£80 of food across a typical winter.
What delays really cost
Households report higher bills when seals sag because fridges run colder to chase lost chill. Energy auditors put the penalty at 10–40% for older units. Add the price of dumped milk, soggy salad and deli meats that turn, and the annual hit often sits near £110 for a single fridge‑freezer. Fixing the seal restores stable temperature, lowers compressor wear and calms the noise you hear in the evening.
What you need before you start
Tools and parts checklist
- Replacement door gasket that matches your model and size
- Screwdriver to suit the inner trim screws (flat or cross‑head)
- Hairdryer with a low heat setting
- Soft cloth and warm, soapy water
- Rubbing alcohol or vinegar for greasy residues
- A4 sheet for the seal test
Get the fridge ready safely
Move perishables to a cool bag with ice packs for half an hour. Switch the fridge off and unplug it. Wipe the door rim where the gasket sits. Clear crumbs and old adhesive so the new seal beds evenly. Place screws in a dish so none wander under the skirting.
You do not need to remove the door. Loosen the trim, not your patience, and the job stays under 30 minutes.
The 15-minute swap step by step
Loosen, not strip
Open the door wide. Run your fingers under the inner lip of the gasket to find the retainer. Most fridges use a thin plastic or metal trim with small screws. Back each screw off by one or two turns. Do not remove them fully. Ease the old gasket away in sections, working from the top corners to the bottom to avoid stretching the liner.
Warm to fit, not to warp
Lay the new gasket flat. Set the hairdryer to low heat and hold it about 30–40 cm away. Sweep along the seal for a few seconds to relax the PVC or rubber. You want flexibility, not softness. If the profile includes a magnetic strip, keep the dryer moving so the magnet does not lose strength.
Seat, tighten and align
Push the new gasket’s rib firmly into the channel, starting at the top hinge side. Work around the frame, pressing corners in last so you keep tension even. Nip the screws up lightly in a criss‑cross sequence. The trim should grip without dimpling the seal. Close the door and check the gap line; reopen and tweak screw tension where you see daylight or waviness.
Warm, press, criss‑cross tighten: that three‑step rhythm stops ripples and keeps the seal square from day one.
DIY versus call‑out: the numbers that matter
| Option | Typical cost | Time | What you get |
|---|---|---|---|
| DIY gasket swap | £10–£25 part | 15–30 minutes | New seal, lower bills, quick fix |
| Professional visit | £70–£140 call‑out + parts | 30–60 minutes | Fitted part, warranty on labour |
For a straightforward door, DIY wins on speed and cost. Pay for a technician if your model uses glued seals, hidden clips that risk damage, or an integrated door with panel hinges that need alignment.
Make sure it seals and keep it that way
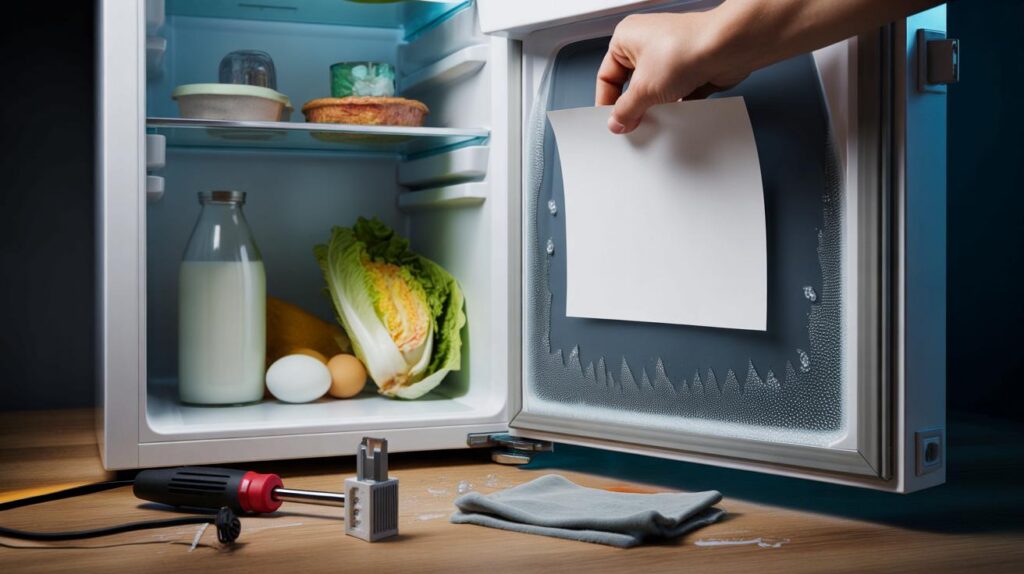
The A4 paper test
Slide an A4 sheet across the top edge, close the door and tug. You should feel firm resistance. Repeat on both sides and at several points down the hinge and latch edges. Where the sheet slips easily, adjust screw tension or warm and reshape the seal gently. Run your hand around the perimeter after an hour of cooling; you should not feel cold air escaping.
Care tips through winter
- Wipe the gasket monthly with warm soapy water, then dry to stop mould and keep flexibility.
- Do not hang heavy bottles on the door after fitting; weight can twist the seal.
- Check for crumbs in the lower corner folds; debris breaks the seal line.
- Aim for 4–5°C in the fridge and −18°C in the freezer; extremes harden rubber and burn power.
A clean, soft seal saves energy every day and keeps lettuce crisp, milk sweet and leftovers safe.
Details most guides skip, but you will use
Match the right gasket type
Manufacturers use three common fittings. Push‑in gaskets have a rib that slots into a groove. Screw‑in gaskets sit under an inner trim, as above. Bonded gaskets glue to the liner and suit a skilled hand and contact adhesive. Measure the outside width and height and note the profile shape before ordering. If your model uses a magnetic gasket, check polarity by sticking a paperclip to the old seal; the new one should attract along the same face.
When not to DIY
Skip the home fix if the door is warped, the liner is cracked, or the hinge sags. A tired hinge lets the latch side drop, which no fresh seal will fix. If the fridge leaks water under the crisper or ice coats the back wall, you may face a blocked drain or faulty thermostat. Solve those first. Do not heat near foil‑lined doors or glass shelves; remove shelves to avoid thermal shock.
Food safety, energy gains and the quiet bonus
Good seals keep temperatures steady, which limits bacterial growth on ready‑to‑eat foods. Expect fewer stale edges on cheese and less frost on freezer drawers. Many families notice the compressor cycles shorten within hours of fitting the new gasket, trimming evening noise and wear on the motor. Over a year, a tight seal can claw back 50–200 kWh. At current tariffs, that offsets the part in a month or two.
Extra help if you rent or share
Tenants can swap a gasket without breaching most agreements, as long as you keep the old seal and avoid damage. Photograph screw positions before you start. If you share a house, label shelves and plan a 30‑minute window to shift food into a cool bag. Tell housemates not to slam the door for the first day while the new seal settles.
If you want to go further
Check the freezer seal too; frost build‑up on the lip means a similar story. Defrost thick ice before you judge seal performance. Add a simple plug‑in energy monitor to track daily kWh and see the change after the swap. If your fridge sits against a radiator or range, pull it 5 cm from the wall and clear dust from the rear coils. Better airflow pairs with the new seal to cut run time and protect the compressor.
Finally, dispose of the old gasket responsibly. Many council tips accept mixed plastics with embedded magnets; ask staff on site. If the magnet strip pulls out easily, separate it and place metals and plastics in the right bays. Small changes like this seal swap pay twice: lower bills and less waste through the colder months.


Great guide. The “loosen, not strip” step saved me from overtightening—those screws are tiny. Took ~20 mins; A4 test passed after a bit of warming. Noise level is noticeably lower now. Cheers!