Grimy grout ruins gleaming tiles and sours air at home; a quick rethink of habits could revive rooms without fuss.
Across the country, people still reach for bleach when the lines between tiles turn grey. That habit feels powerful and fast. Yet professionals warn it often masks the problem and can shorten the life of the grout you’re trying to save.
Why bleach makes grout look whiter but age faster
Bleach is an oxidiser. It lightens surface stains, which tricks the eye into thinking the grout is clean. Dirt and soap scum lodged inside tiny pores can remain, and repeated use weakens the cement binders that hold grout together.
Bleach whitens stains on the surface; it doesn’t clear grime from the pores and may degrade grout over time.
There’s another snag. Frequent bleaching can lead to yellowing, crumbling edges and hairline cracks that invite moisture. That moisture encourages mould, making your next clean tougher than the last.
Never mix bleach with acidic products, including vinegar. That combination can release dangerous gases. If you’ve used bleach recently, rinse thoroughly with plenty of water and let surfaces dry before using anything else.
The 1 natural item that brightens grout fast
Bicarbonate of soda — a cheap, common kitchen staple — lifts ingrained grime and restores brightness without harsh fumes. It’s mildly alkaline, so it loosens oily residues and soap scum while remaining gentle on most cement-based grouts.
The 10‑minute bicarbonate method
- Mix 3 tablespoons bicarbonate of soda, 1 teaspoon washing‑up liquid and 1–2 tablespoons warm water to a thick paste.
- Spread along grout lines using an old toothbrush or small detailing brush.
- Leave for 10 minutes to break down grime. Keep the paste damp; mist with water if it dries.
- Scrub in short strokes, then wipe the slurry away with a microfibre cloth.
- Rinse with clean water and dry the joints to discourage mould.
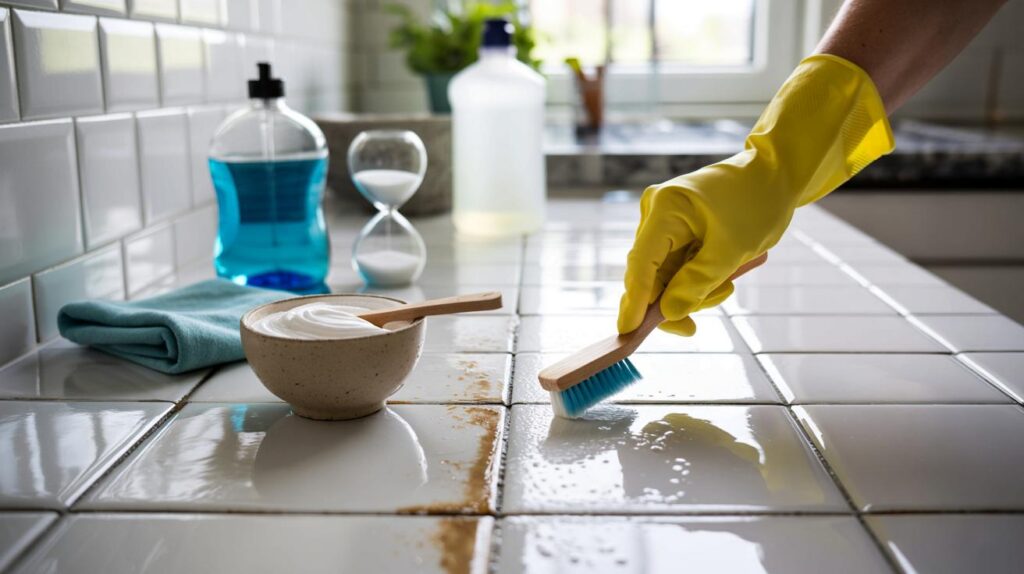
One bowl, one brush, one staple: bicarbonate paste cuts through build‑up and leaves grout visibly brighter.
For an optional fizzing lift, you can mist a light spray of water over the paste, then follow with a very light spritz of white vinegar to activate bubbles. Do not use vinegar on natural stone such as marble, limestone or travertine, as acids can etch stone surfaces.
Everyday freshening without chemicals
Between deeper cleans, a simple white vinegar spray helps to keep grout smelling fresh and looking clear of soap film. Mix a 1:1 solution of white vinegar and water in a trigger bottle. Spritz after showers or cooking, wait five minutes, then wipe dry. Avoid all acid on natural stone and any area with damaged or unsealed grout.
When steam cleaning makes sense
Steam loosens grime and kills mould spores without chemicals. Fit a narrow nozzle or small brush, hold 3–5 cm from the grout and move slowly. Wipe away moisture as you go to remove lifted dirt. Skip steam if tiles are loose or the grout is friable; heat and pressure can worsen cracks.
Choose the right approach for your tiles
| Method | Best for | Typical dwell time | Avoid on |
|---|---|---|---|
| Bicarbonate paste | General dinginess, soap scum, kitchen splashes | 10–15 minutes | None, if rinsed well; test coloured grouts for residue |
| White vinegar spray (1:1) | Daily freshening, limescale bloom around taps | 3–5 minutes | Marble, limestone, travertine, unsealed stone |
| Steam cleaning | Deep clean without products, mouldy corners | Slow passes, 10–20 seconds per line | Loose tiles, crumbling grout |
| Grout pen (colour restorer) | Stained but sound grout, fast refresh | Drying as per pen instructions | Wet areas before fully dry; failing grout |
Keep grout brighter for longer
Seal the lines
Once clean and fully dry, apply a penetrating grout sealer. Two thin coats usually perform better than one heavy coat. Leave at least 24 hours to cure, or as directed on the label. You’ll know it’s time to reseal when water no longer beads on the surface.
Control moisture and daily habits
- Squeegee or towel‑dry shower walls after use to cut drying time and mould growth.
- Run an extractor fan for 20 minutes after bathing or cooking.
- Keep doors ajar to improve airflow and reduce condensation on cool tile surfaces.
- Wipe spills in kitchens immediately, especially tomato‑based sauces and coffee.
When cleaning isn’t enough
If grout is cracked, powdery or missing in places, cleaning won’t restore strength. Re‑grouting small sections is a realistic weekend job: rake out the top 3–4 mm, vacuum the dust, then pack in fresh grout and smooth with a damp finger or tool. For tired colour rather than damage, a grout pen is a quick way to unify shade after cleaning.
Costs, timings and what to avoid
- Cost guide: a 500 g tub of bicarbonate often comes in under £1, and a litre of white vinegar frequently sits below £1.50. Both stretch to dozens of cleans.
- Time guide: a standard shower enclosure takes about 15–25 minutes with bicarbonate paste, including dwell time and rinse.
- Avoid stiff metal brushes; they scratch tiles and shred grout.
- Never mix bleach with acids. If you’ve used bleach, rinse thoroughly and let the area dry before any other product touches it.
Extra pointers for different surfaces
Cementitious grout benefits from the bicarbonate method and routine sealing. Epoxy grout is less porous and resists staining; use mild detergent and water, then rinse and dry. If you’re dealing with natural stone tiles, stick to pH‑neutral cleaners and plain bicarbonate paste; skip vinegar altogether.
For most homes, the fastest, safest route is simple: bicarbonate paste for the deep clean, vinegar‑water for maintenance, and a good sealer to lock in the result.
Two quick routines you can actually keep
The weekly five‑minute plan
- After the last shower of the day, spray walls with 1:1 vinegar‑water (not on stone).
- Wait five minutes, wipe down, and leave the fan running while the room dries.
The monthly deep clean
- Apply bicarbonate paste to the worst lines first, then the rest, so dwell time is even.
- Scrub, rinse and dry. Inspect for gaps and seal if water stops beading.
If you rent, these methods keep deposits low-risk and odours down without bringing harsh chemicals into small bathrooms. If you’re renovating, choosing a lighter grout shade and larger tiles reduces visible dirt lines, while epoxy grout in splash zones cuts maintenance. In both cases, a £2 basket of bicarbonate, washing‑up liquid and a spare toothbrush solves the problem most people try to bleach away.


43% brighter — how did you measure that? Lux meter, image analysis, or just eyeballing? Not trying to be snarky, just curious about methdology and whether colored grout gets hazy with bicarb.