A high-street replica costs a small fortune, yet a forgotten relic in your cupboard may hide better prospects for you.
Across Britain, fans of slow coffee are turning back to cast-iron and enamel. A straightforward workshop routine now promises to revive a vintage grinder safely, keep the patina, and cost no more than a modest takeaway lunch.
A €25 plan that respects food contact and heritage
The approach keeps original materials visible while making the grinder safe to use. It targets three recurring faults in mid‑century grinders: chipped enamel with corrosion, seized mechanisms from rancid oils, and modern food‑contact expectations. The routine uses simple products, measured heat, and patience rather than brute force.
Budget and timing at a glance: about €25 in consumables, three days elapsed, roughly four hours of hands‑on work.
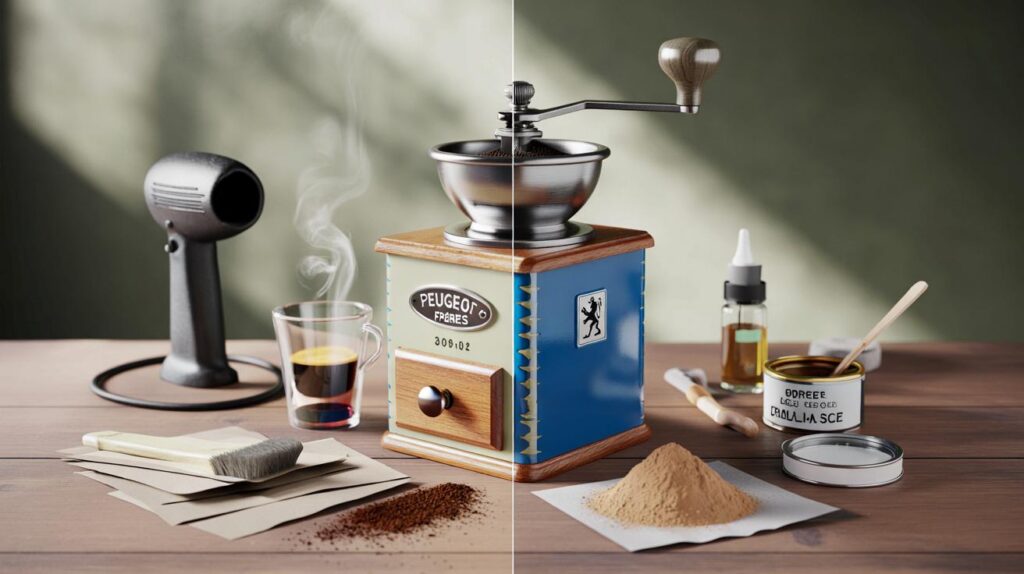
What sparked the method
The template grew from a 1950s Peugeot model bought for €8. The enamel had flaked. The axle had locked. After more than thirty restorations in five years, a restorer codified a process that avoids harsh chemicals and keeps the original look. It suits Peugeot Frères and Pe De grinders and other enamelled kitchenware.
Tools and materials you actually need
The kit is short, low cost, and available from standard DIY suppliers. The spend lands near €18 for the basics, rising to around €25 with extras you may already own.
- Sheets of abrasive paper: grit 400, then 800 for smoothing
- Food‑contact high‑temperature enamel paint
- Linseed oil for gentle release of seized parts and final sheen
- Food‑grade silicone grease for the burrs and axle
- Soft wire brush and microfibre cloths
- Heat gun set to a maximum of 60 °C
- Terre de Sommières, a clay powder that absorbs old grease without biting enamel
Keep heat low and use coatings certified for food contact. That pairing preserves thin steel parts and protects your cup.
Step‑by‑step: three days from dusty to daily use
Photograph parts as you go. Work in short sessions. Allow proper drying times. The result looks honest, not factory‑new, and feels ready for daily brewing.
| Day | What to do | Typical time |
|---|---|---|
| 1 | Full strip‑down; degrease with terre de Sommières; spot sanding 400 then 800 | 90 minutes plus 2 hours resting time for the powder |
| 2 | Gentle heat treatment; two thin coats of enamel paint, four hours apart | 10 minutes per piece with the heat gun; 20 minutes painting |
| 3 | Final cure; reassembly; lubrication; functional checks | 60 minutes, including grind test |
Detailed actions that save parts, not replace them
- Disassemble in about 15 minutes and label screws, springs, and the adjustment nut.
- Dust areas heavy with rancid oil using terre de Sommières. Leave for two hours. Brush off gently.
- Feather damaged lacquer and rust with grit 400. Smooth transitions with grit 800. Avoid bare metal unless corrosion demands it.
- Warm parts with the heat gun, never beyond 60 °C. This loosens residues without warping thin steel.
- Lay two light enamel coats. Wait four hours between coats. Do not flood edges or threads.
- Let paint cure for 24 hours. Dab with a hot‑water cotton bud. If no colour transfers, the surface has bonded.
- Free a stuck axle by brushing on warm linseed oil. Wait. Wiggle, do not force. Repeat until movement returns.
- Grease moving parts with food‑grade silicone. Wipe off any excess to avoid attracting dust.
- Finish with a drop of linseed oil on a microfibre cloth to lift the enamel’s depth without glossing over age marks.
The cotton‑bud test after curing is your green light: no colour on the swab means the enamel has set properly.
Settings, results and the pitfalls to avoid
A full cycle spans three days. Most of that is waiting. Even badly chipped bodies regain a coherent look. Burrs turn freely again, and the handle spins without squeak.
Common mistakes that ruin good work
- Avoid acids that etch enamel and invite future rust.
- Shun non‑food coatings; they flake under heat and contact with beans and oils.
- Never exceed 60 °C with the heat gun. Thin plates can distort.
- Do not force a frozen mechanism. Use warm linseed oil and patience.
- Stick to coatings certified for food contact and follow curing times aligned with current EU requirements.
The aim is durability without fakery: keep honest wear, stabilise the surface, and restore a safe grind for years.
Where this method also works
The same rhythm helps with enamelled cookware, storage tins, and even old refrigerators. Increase curing time for thicker panels. Reject any part that shows deep structural cracks. For kettles and matching pots, test gaskets cold with water to check for leaks before heat ever touches them.
Maintenance and grind performance after restoration
Once reassembled, align the inner and outer burrs before your first cup. Wind the adjuster until the burrs kiss, then back off a click for espresso or several clicks for filter. Add a grain of rice to your next batch to lift any lingering oil after storage. Empty the drawer after each grind to prevent stale aromas.
Linseed oil gives a soft sheen to painted areas. Keep it off the burrs. Refresh silicone grease sparingly every six months if you grind daily. Use a soft brush to clear fines from the burr teeth. If the handle loosens under load, fit a fibre washer rather than over‑tightening the nut.
Helpful extras for cautious home restorers
Old enamels vary. If you suspect heavy metals in very early pieces, restrict restoration to external decorative areas and avoid food contact. Mid‑century European grinders from reputable makers typically used robust steel and stable coatings, yet a food‑safe topcoat creates an extra barrier you can trust.
Smell can linger from decades of storage. Fill the drawer with dry bicarbonate of soda overnight, then brush clean. Run 20 g of sacrificial beans to season the burrs. Taste a brew made from fresh beans and discard the first cup if any odour remains. Keep the grinder in a dry place away from steam to protect the enamel from thermal shock.
Thinking of value? A tidy, working Peugeot with preserved patina can outlast many modern lookalikes that retail near €150. Your spend stays near €25, plus an afternoon of focused work, and the payoff sits on your counter every morning.


Loved the focus on keeping patina and using food-safe coatings. My 1950s Peugeot is sulking in a drawer; this €25, three‑day plan might finally get it back on counter duty. The cotton‑bud test is a neat trick—definitley stealing that.