We're all guilty of going against our therapist's advice. Not exfoliating, not waxing every four to six weeks or reaching for the fake tan post waxing treatment, so we might as well be frank about breaking the biggest rule of all - giving yourself an at-home wax. While therapists everywhere are shouting NO! we feel it's only right to give you the classic do's and don'ts of at home waxing, before you do yourself a mischief.
Whether you're feeling brave, broke or barmy, we're here to arm you with the professional waxing knowledge you need, kindly advised by Wax In The City expert Marjorie Cusack. (Just remember if you're too scared you can just walk into their stores and get a wax there and then.)
Got your Immac/Veet/Boots-own-brand waxing kit at the ready? Then let's begin.
DON'T expect the same results as a professional appointment
Don't expect the best results from a DIY job. While you can get a good smooth limb from a DIY wax job, Marjorie says the reality is that wax sold on the highstreet is inferior in quality to professional products. So while you might be able to do away with your immediate fuzz, it's likely the results won't last as long.
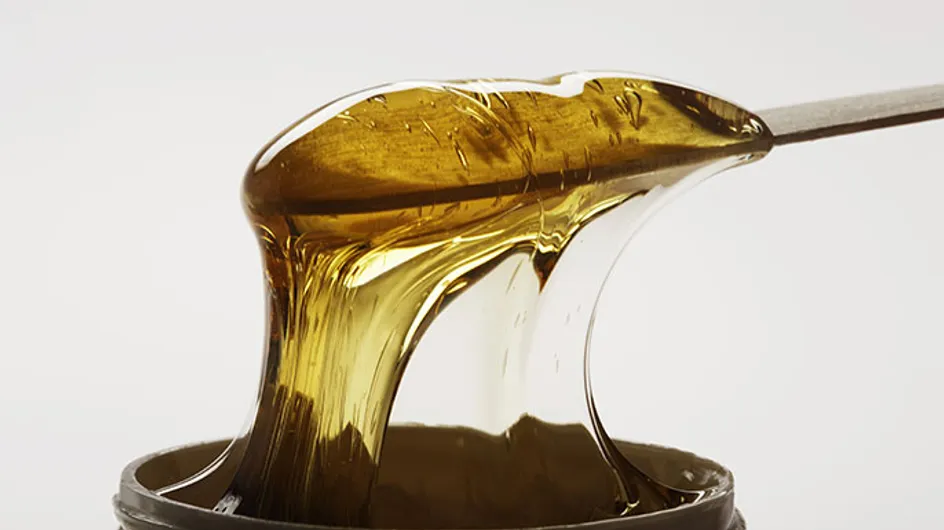
DO go for hot wax over strip wax
Where possible, you'll get a better result by using an at home hot wax kit instead of traditional wax with strips. Marjorie says: "Hot wax is always better but it is much harder to find for purchase and more difficult to apply and remove."
Bliss' Poetic Waxing Kit is a pretty good choice.
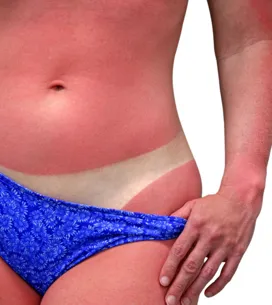
DON'T forget about the risk
Waxing, scmhaxing? No, no. This is something to be taken seriously. If you're trying a DIY wax you gotta be aware of the risks. They include bruising, burning, tearing and damaging the skin. Which is why it's so important to get it right (read the rest of these tips!)
DO check the temperature carefully
One of the most important things to remember when waxing at home is to test the temperature really carefully. The pro's always test the temperature on the inside of their wrist to see if it's good to go.
If you're microwaving wax to heat it up - pay extra attention. You only want to take the hair off NOT your skin.
DON'T wax hairs that are too long
The optimum length of that hairs should be before waxing is 4mm, no matter where the hair is on your body.
Marjorie says: "The normal rule of thumb is that there should be enough hair for the wax to grip to."
If you've let things get slightly longer than that - particularly for the bikini line, you might want to trim beforehand.
DO exfoliate the area before waxing
As well as trimming any longer hairs, another important part of your pre-wax prep is exfoliating.
Marjorie says: "Exfoliation is extremely important. Before waxing it helps to remove any dead skin cells and the results of your wax will be better. Post waxing : exfoliate after about 5-7 days after waxing."
Use a mitt in the shower or try one of the Wax In The City post wax products to help prevent ingrown hairs.
DON'T try to be clever
Marjorie says the underarms and bikini line are probably the most tricky areas to wax yourself. So there's no point trying to be clever. You might be able to manage a little bikini maintenance but Brazilians, Vajazzles, Hollywoods and high legs are all best left to the professionals.
If you're waxing your legs she has this advice: "[if you're using hot wax] you can apply against the hair growth and remove against the hair growth. With strip wax you apply with the hair growth direction and remove against but the skin on the shin can be very thin so you must be careful in this area."
DO bare in mind the direction of hair growth
To get a better finish you want to pull the hair out from the root, rather than breaking the hair off. To do this you gotta know which direction the hair is growing in.
"Normally by the direction the hair is growing is either up or down. Sometimes, especially underarms it can grow left to right or even in a circle." Marjorie says.
DON'T forget to apply pressure after waxing
A little trick to help with the pain thing? Apply firm pressure on the area with your hand, immediately post waxing. Just for a couple of seconds. The coolness of your hand will be lovely and soothing.
DO look after the area post wax
That means avoiding applying any creams or oils.
Marjorie says: "Leave the area clean for about 24 hours. Exfoliate every 5-7 days in between waxing to prevent ingrown hairs and wear seamless panties!!!"
DON'T shave
If you're between waxing appointments or don't have enough stubble for a DIY treatment Marjorie's advice for smooth seekers is NOT to shave.
"It encourages hair growth. I would always recommend that if you do get stuck and cannot wax, try epilating or Veet hair removal cream."
Got any more DIY waxing advice? Tweet us @sofeminineUK